
 Image 1 of 6
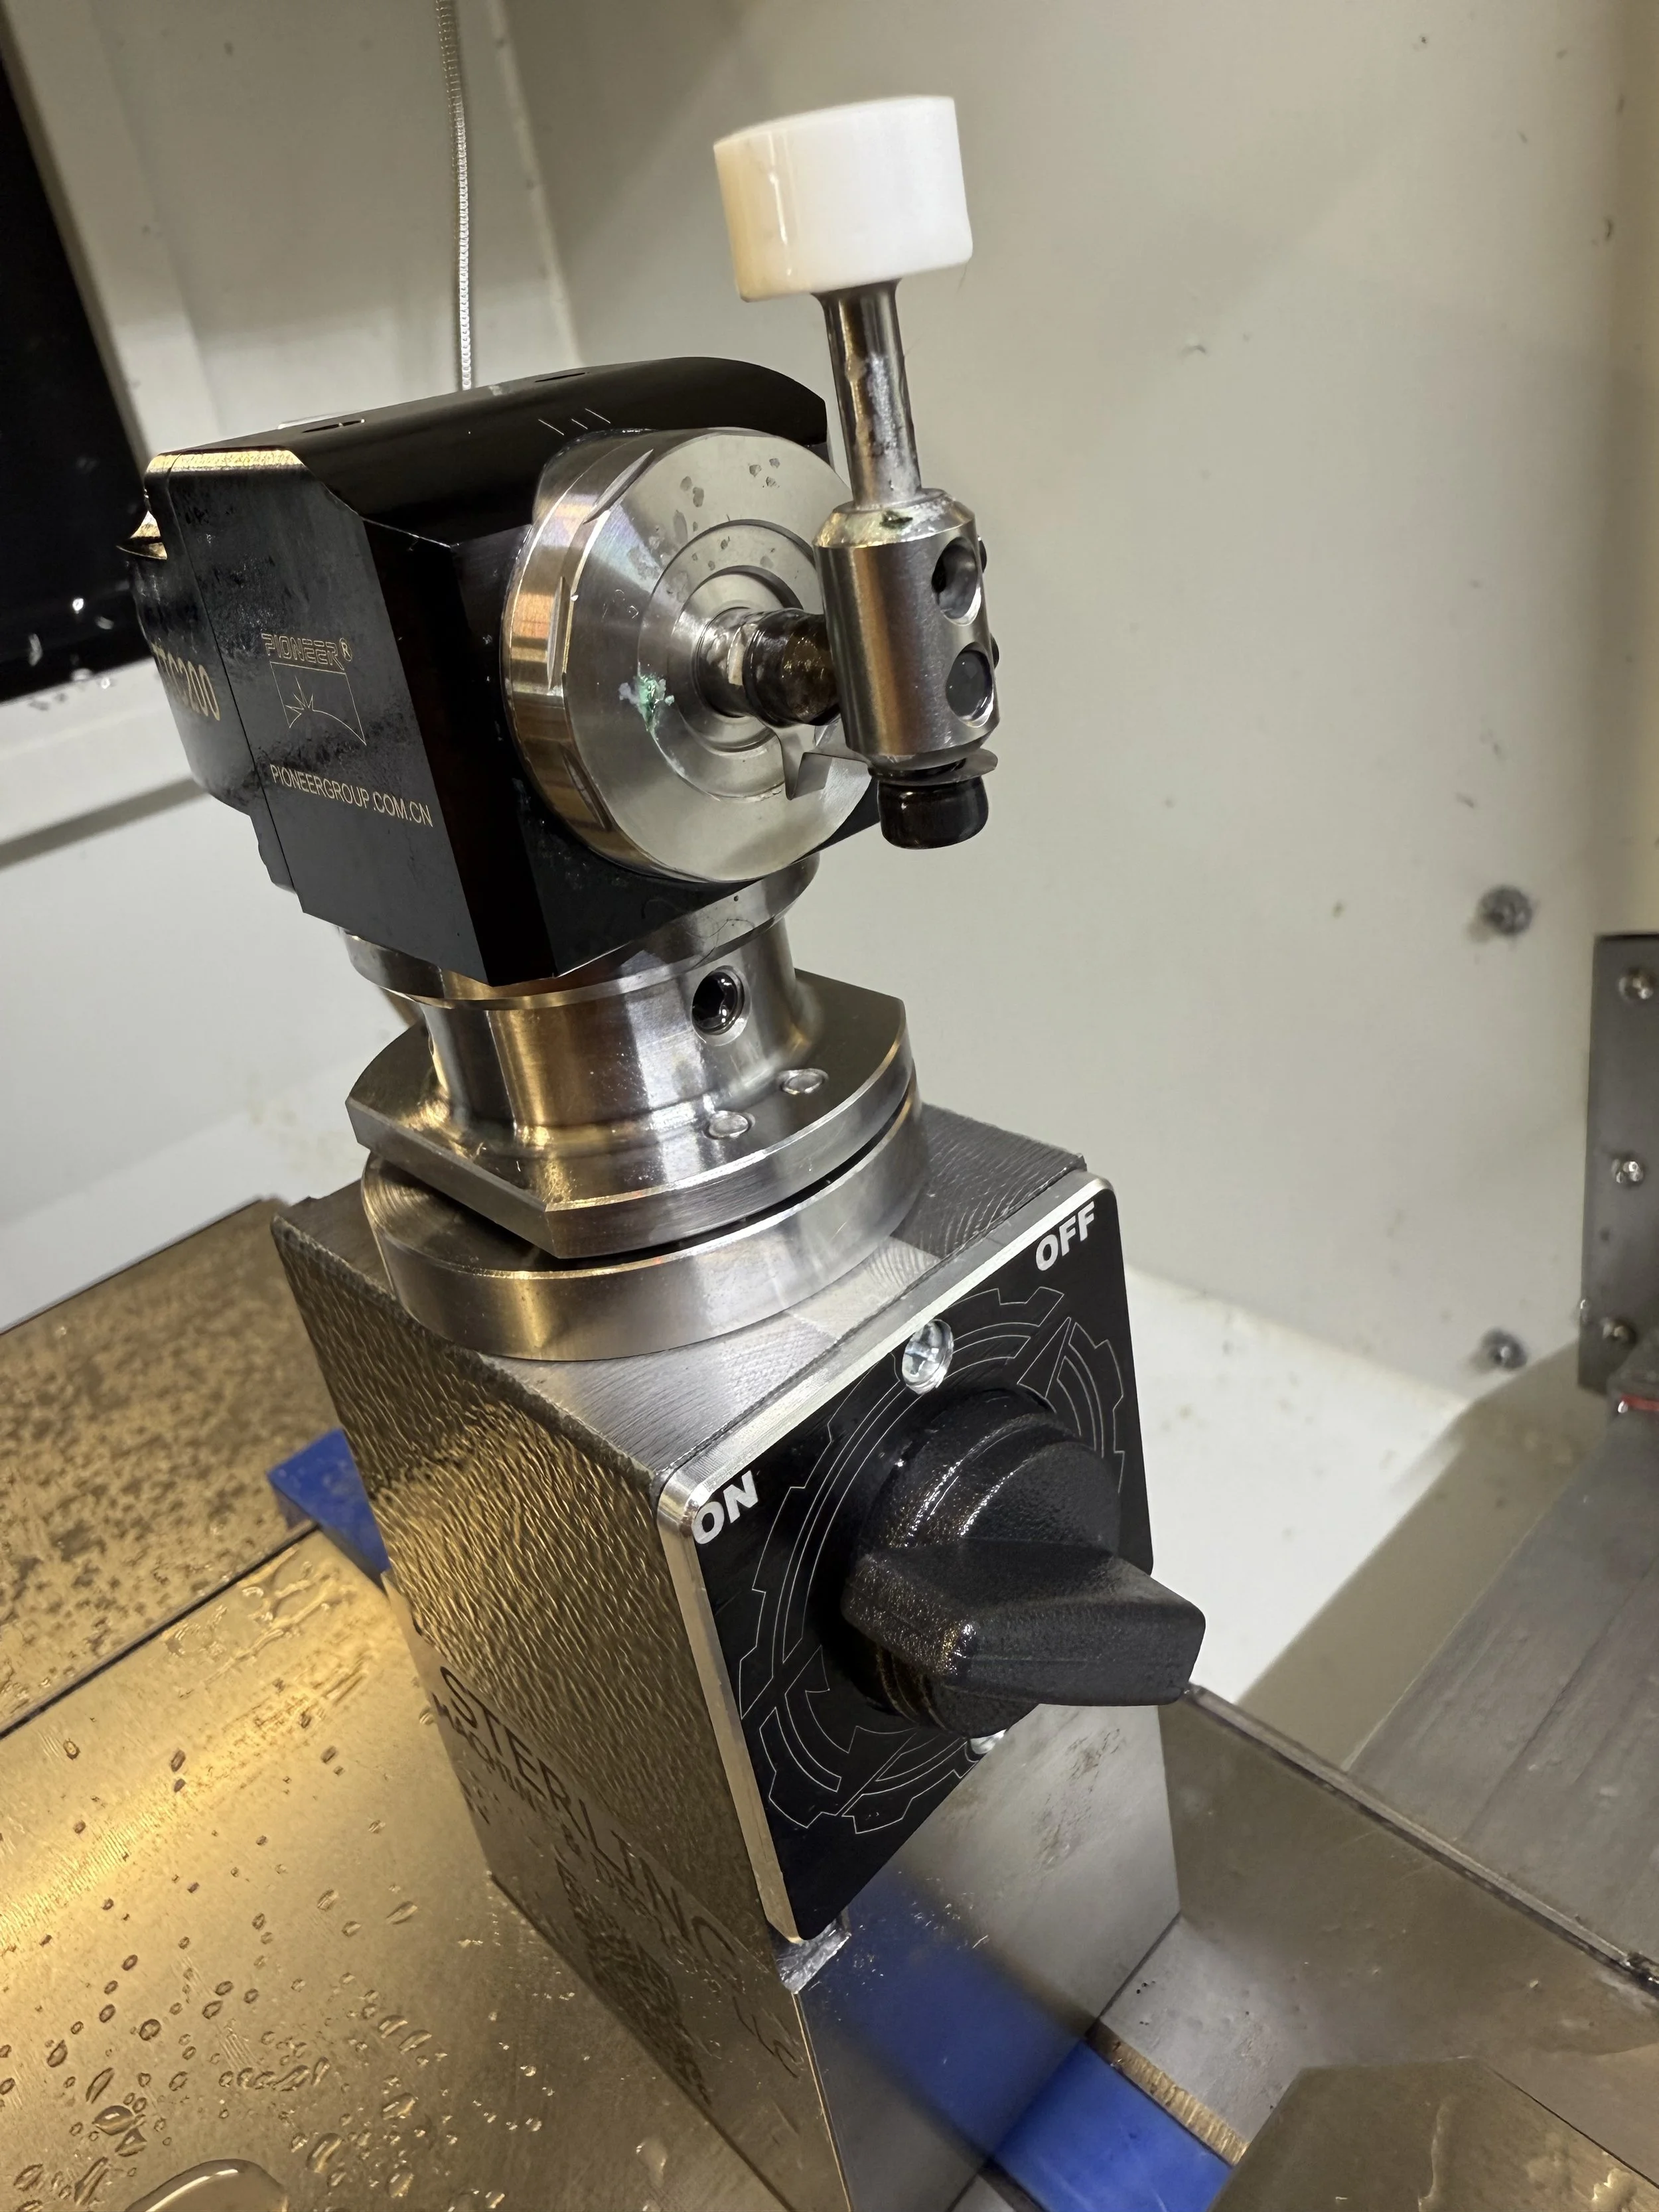 Image 2 of 6
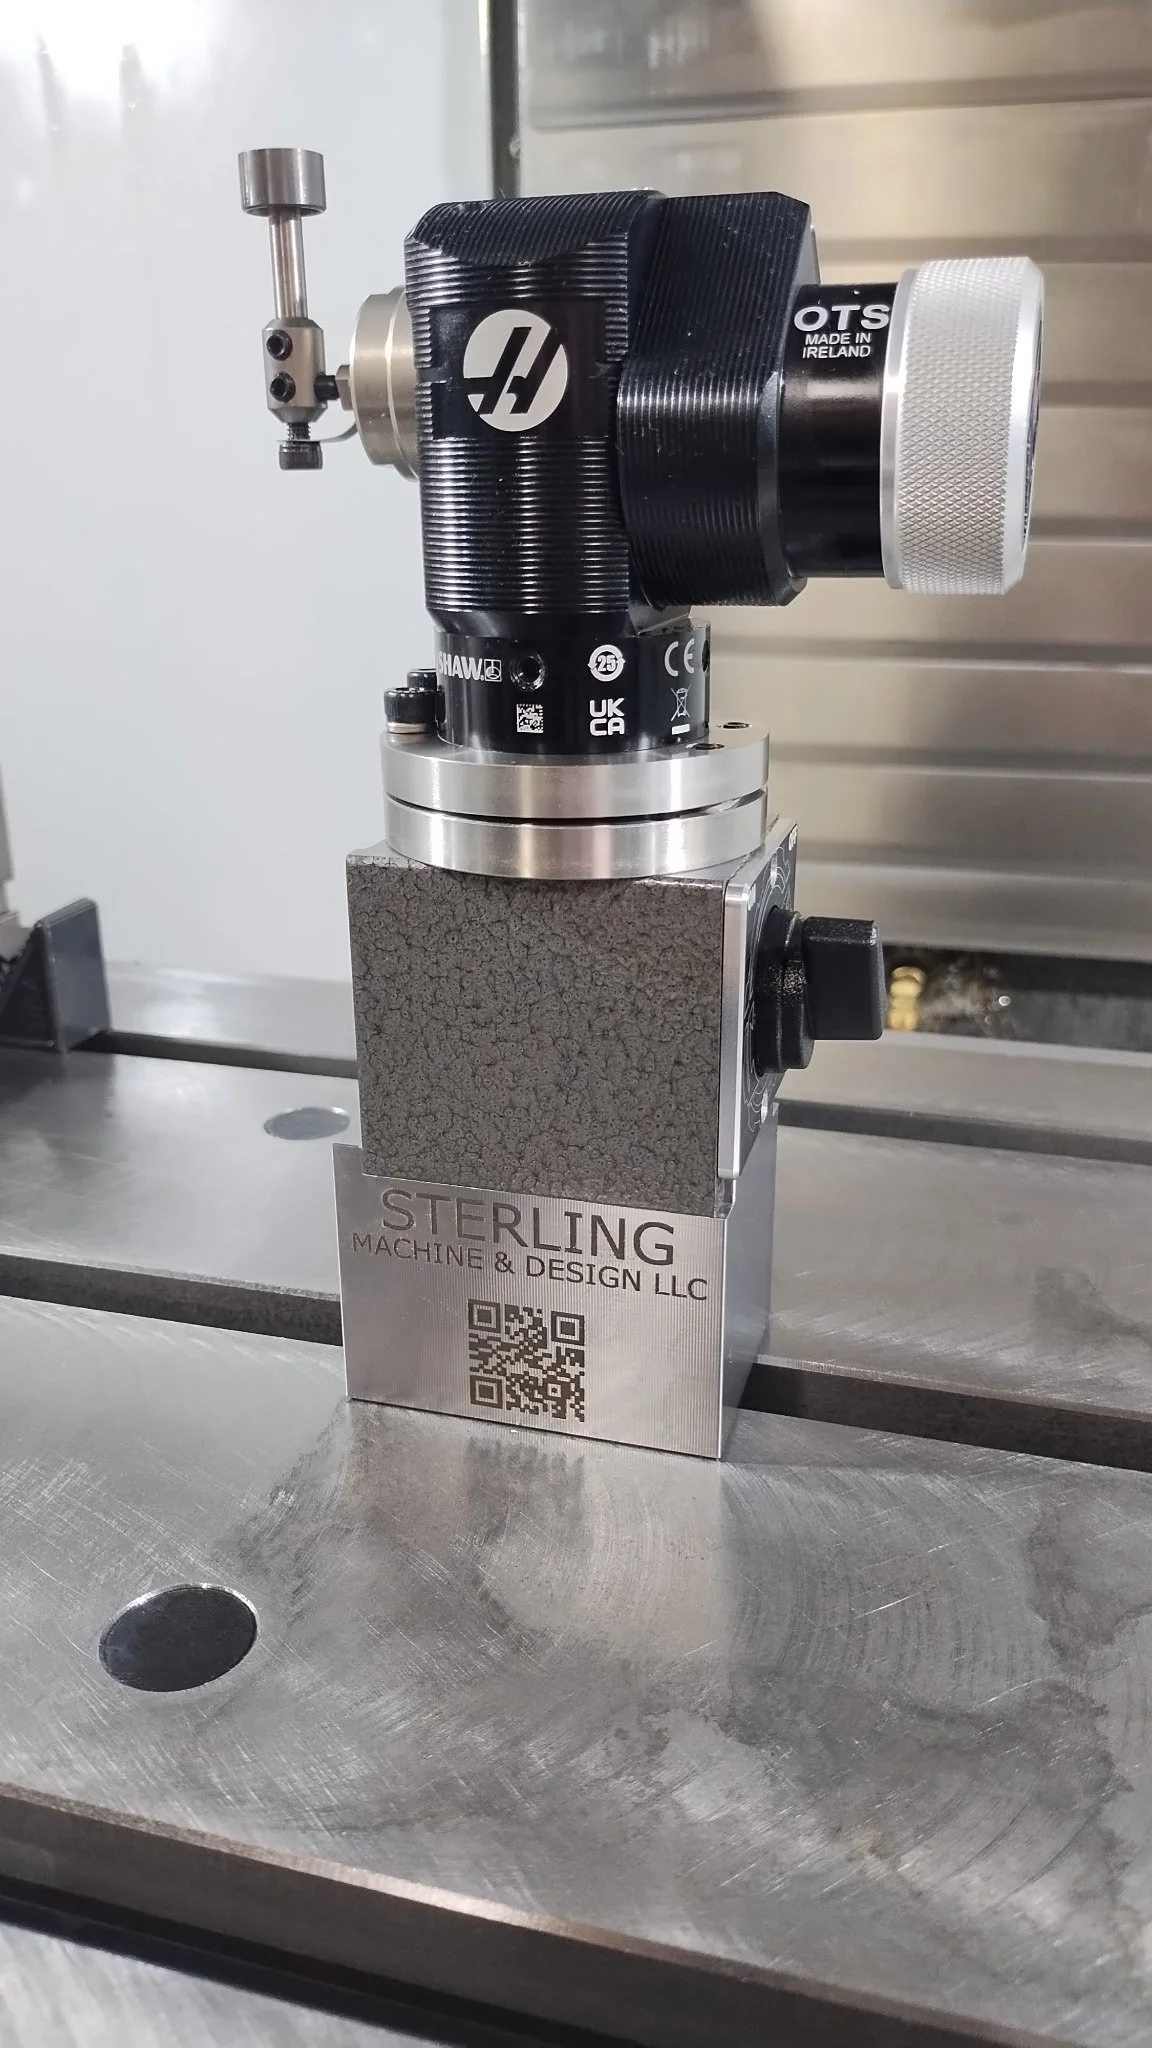 Image 3 of 6
 Image 4 of 6
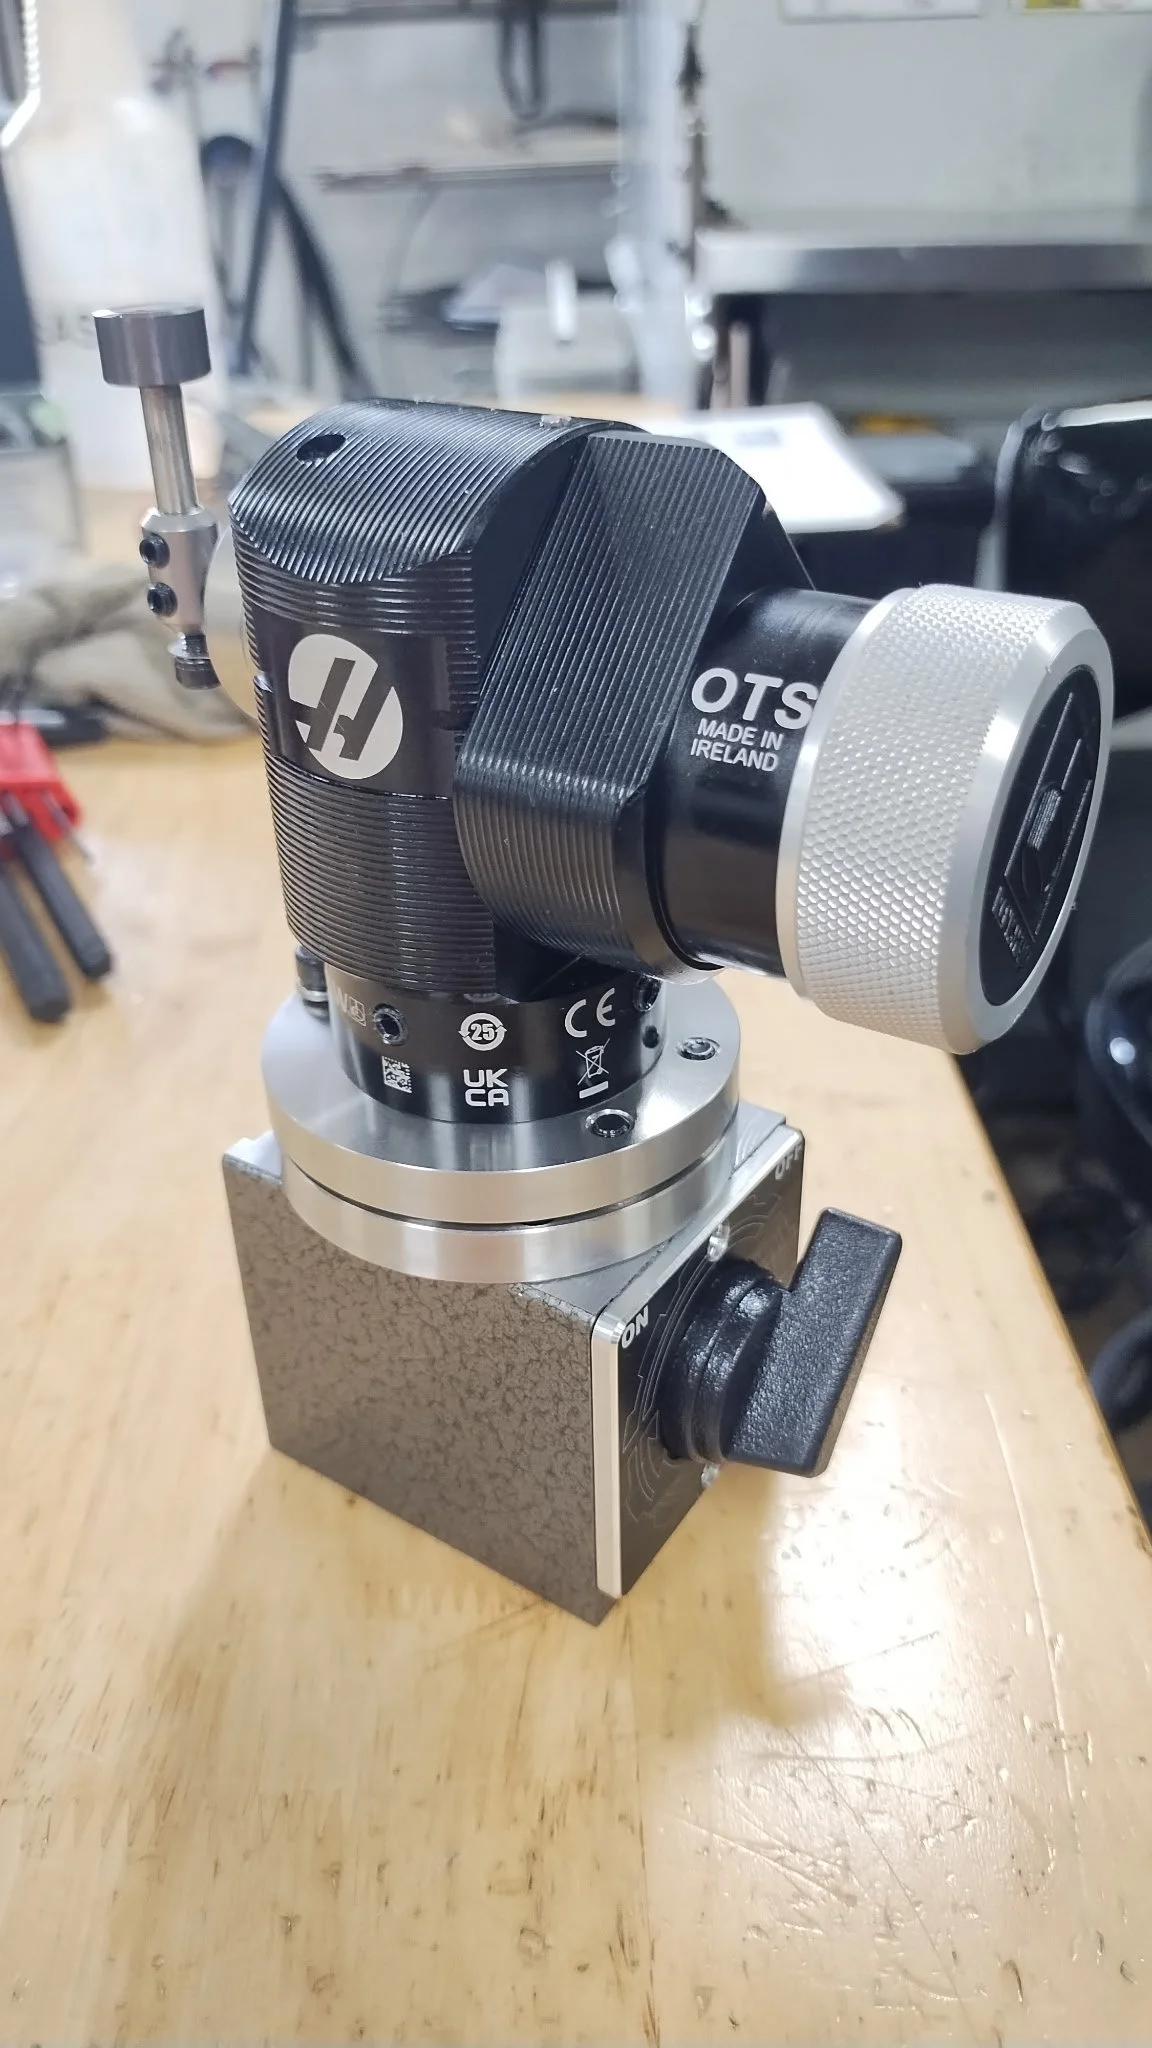 Image 5 of 6
 Image 6 of 6
Specifications
| Material | 1018 Steel |
| Magnetic Holding Force | 100 lbs |
| Overall Height (Assembled) | 3.920 - 3.950" (Approx. 100mm) |
| Base Height (Tool Setter Removed) | 1.970" (Approx. 50mm) |
| Mounting Hardware (Base to Table) | M12 or 1/2" SHCS (1/2" hardware provided) |
| Mounting Hardware (Tool Setter to Magnet) | M8x1.25 SHCS |
| Mechanical Repeatability | < 0.0001" in Z (**See integrated Test Results) |
What's Included
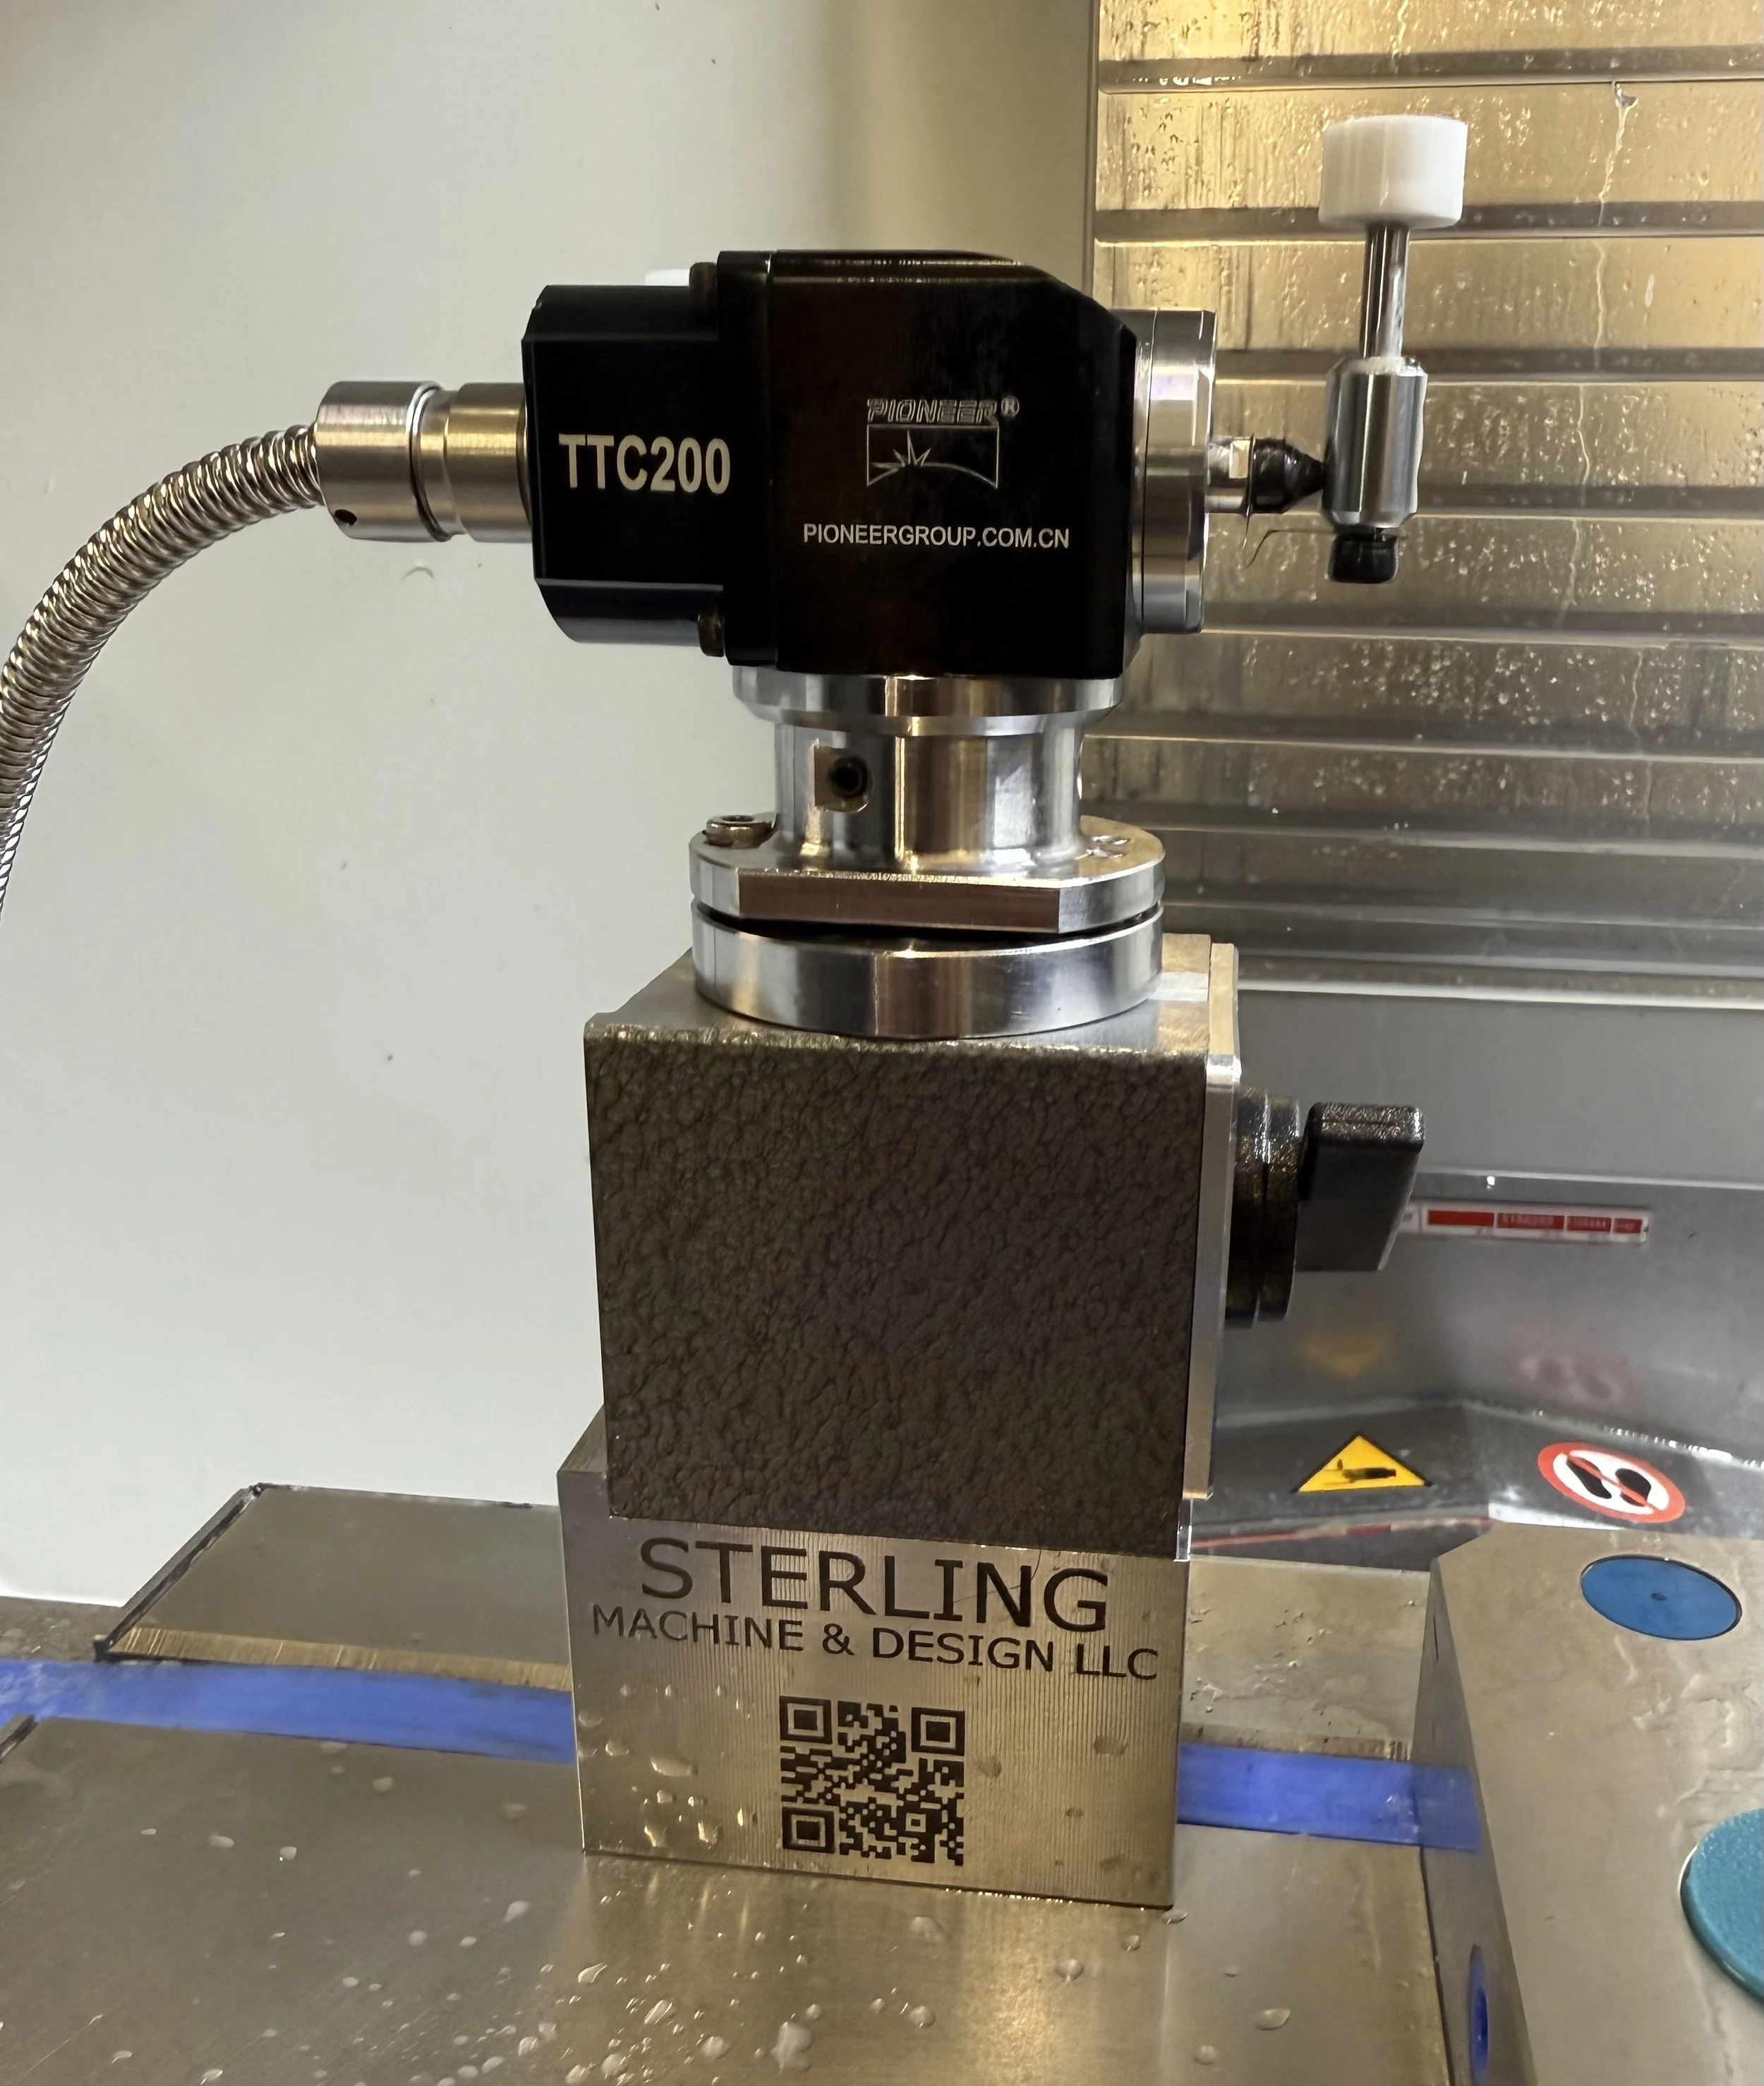
- MagMount Base - Qty (1)
- Magmount Tool Setter Mount - Qty (1)
- Mounting Hardware Kit
Installation
- Identify desired placement of the MagMount on your machine table and stone smooth with precision ground flatstones. Once cleaned, apply a small amount of rust inhibitor.
- Use flatstones to verify surface condition on MagMount components.
- Use provided 1/2" SHCS to secure MagMount base to machine table, using appropriate T-nut to interface with your table (not included). (**See Notes section for comments on orientation.)
- With the base secured to the table, disassemble the tool setter from its integrated baseplate and use provided M8 screw and thick washer to mount the baseplate to the magnetic base. Depending on tool setter model, the existing stackup may result in the screw impeding operation of the magnet. If this occurs, install provided thin washers to eliminate the interference as necessary.
- With tool setter baseplate mounted to magnet, reassemble tool setter to magnet base. Install in machine onto the MagMount Base, turn on the magnet, and tram in the stylus.
- Once stylus tramming is complete, perform a recalibration of the tool setter to update its new XYZ position within the control.
- Installation complete.
Notes
We have tested the MagMount to repeat well within 0.0001” in Z (as demonstrated below), which is on par with the accuracy of the tool setter trigger itself. The important thing for us to confirm was that the mount did not introduce any additional error into the system.
If you use your tool setter to measure tool diameters, it is suggested to align the reference ledge in the base with the direction of approach during measurement so that the tool setter stylus is returned to the same X (or Y) position each time it is placed back in the machine. If your machine macro sends the tool to both sides of the stylus, then this potential centering error is compensated for and will have no effect on the resulting measurement.
Test Results
Testing was conducted to compare the integrated repeatability between the tool setter in a static position (blue) with removing and replacing the MagMount between each subsequent measurement (red). This integrated test combines the mechanical repeatabilty of the MagMount alone with the repeatability of the trigger itself, which is not perfect.
A Maritool calibration tool was used to perform these tests following a 30 minute machine warmup routine, and measurement values were taken directly from the readout of the machine control.
Conclusions:
The MagMount added slightly more standard deviation to results compared to baseline static measurements but were still no more than 0.0001" in length variance, which is the same result of the static test (influence of the trigger only).
Thermal gradients proved to be the dominating factor throughout this test. Machine warmups are extremely important if you want to obtain stable measurements (and dimensional performance) throughout the run of a cycle!
Repeatability Testing